
Last updated November 15, 2026
 Sweep & inspection
 Caps & crowns
 Flue relining
 Masonry repair
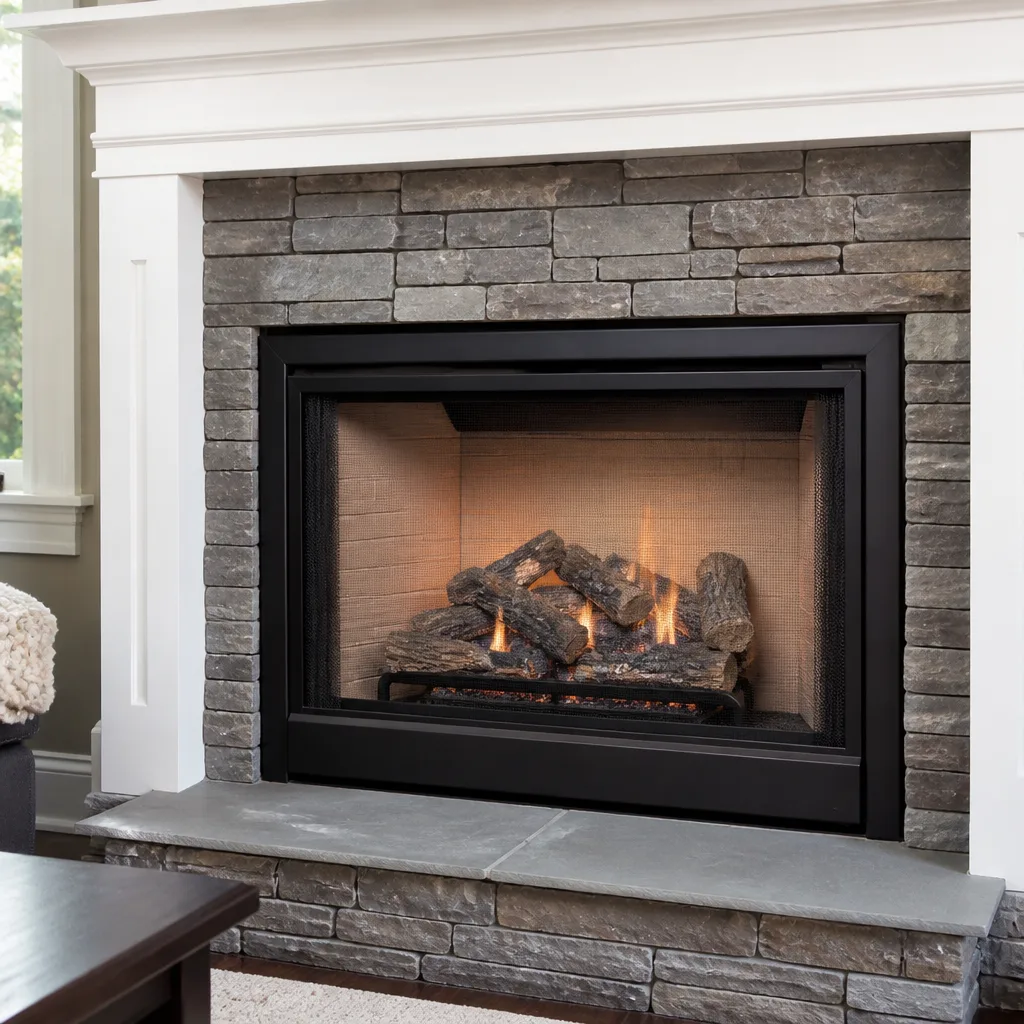 Gas fireplace service
Level 1 sweep and inspection to the NFPA 211 annual standard - flue, crown, cap, and flashing checked and photographed
Chimney sweep logs do not sweep chimneys. They loosen some creosote - which then falls where a brush and vacuum still have to collect it.
DIY vs Professional Chimney Cleaning: The Arvada Homeowner’s Decision Guide
Most homeowners who decide to sweep their own chimney made that decision on a ladder, not in a research tab. They looked up the flue, saw something dark, and figured a brush and an afternoon would handle it. The problem is that the thing they saw has a stage, and the stage determines whether brushing helps or whether it turns a cleaning into a repair. Stage 1 creosote brushes out fine with the right tools. Stage 2 is a glazed deposit that a brush skips right over and a chemical treatment has to break down first. Stage 3 means the liner conversation is already happening whether you planned for it or not. This guide walks through all three stages, what a competent DIY sweep actually requires, and where the line sits between a weekend project and a call to a professional in Arvada.
Styles & brands we work with
- Sweep & inspection
- Caps & crowns
- Flue relining
- Masonry repair
- Gas fireplace service
Quick Answer
DIY chimney brushing is physically possible for a careful homeowner if the chimney has only light, flaky Stage 1 creosote, sits on a single-story roof with a gentle pitch, and the liner is visibly sound. The moment you’re dealing with glazed Stage 2 deposits, a steep or second-story roof, or any hint of liner damage, the smart move is a professional sweep, because the brushwork is the easy part and the inspection that goes with it is the part that catches real problems. A professional sweep in Arvada also covers the flue inspection that brushwork alone never addresses.
Table of Contents
- The Three Creosote Stages and What Each One Demands
- What a Proper DIY Chimney Brushing Actually Requires
- When DIY Is Not a Money-Saving Option
- The Stage 2 Glaze Problem and Your Fire Risk
- What a Professional Does in the Same Time a DIY Sweep Takes
- The Inspection Gap: Why Brushing Alone Misses the Real Story
- How Arvada’s Climate and Housing Shape the Decision
- Common Mistakes to Avoid
The Three Creosote Stages and What Each One Demands
Creosote is the residue left behind when wood smoke cools inside the flue. It doesn’t form one way. Depending on how hot the fire burns, how much air the fire gets, and how dry the wood is, the same chimney can build up three very different kinds of deposit, and each one needs a different response. Knowing which stage you’re looking at decides whether your DIY plan makes sense or whether it accidentally leaves the dangerous stuff in place.
Stage 1: Soot and Flaky Creosote
Stage 1 is the light, crusty, ash-black coating you can scratch off with a fingernail. It looks like charred paper dust and often flakes when you touch it. A stiff nylon flue brush removes this cleanly, and a careful homeowner with the right rod and brush can manage it. Stage 1 is the only stage where DIY brushing is a genuine conversation. Even then, the brush has to fit the flue, the rod has to be long enough, and the setup has to keep you off a dangerous roof.
Stage 2: Glazed, Hard Creosote
Stage 2 is where the texture changes. The deposit is shiny, slick, and hard, sometimes described as looking like black glass or hardened tar. A brush drags across it and leaves it in place. Removing Stage 2 requires a chemical treatment to soften the glaze before any mechanical brushing will work, plus the right tooling to agitate it. This is the stage most homeowners misidentify as Stage 1 because it’s still on the wall of the flue looking “sweepable.” It isn’t.
Stage 3: Concentrated, Porous Creosote
Stage 3 is a heavy, puffy, porous buildup that usually sits in a concentrated area of the flue, often near a connector or a bend. This is the point where the deposit itself is a fire risk because its volume and texture make it easy to ignite. A Stage 3 chimney is a repair conversation, not a cleaning one. It often points to a liner that needs relining with a proper system like DuraFlex, and no amount of brushing from the roof resolves it.
What a Proper DIY Chimney Brushing Actually Requires
A DIY chimney sweep is not a broom, a ladder, and a Saturday. It’s a set of tools and a safety setup that most homeowners don’t already own, and that’s before you decide whether the roof itself is safe to be on. Here’s what a proper brushing job actually demands.
Equipment
- A flue brush sized correctly to your flue interior – too large binds and jams, too small leaves deposits on the walls
- Rigid or semi-rigid fiberglass rods long enough to reach the full flue run without flexing off-line
- A drop cloth, plastic sheeting, and painter’s tape to seal the fireplace opening
- Heavy nitrile gloves, eye protection, and a proper dust mask rated for fine particulate
- A shop vacuum with a HEPA filter (a household vacuum will spread soot through the room)
- A bright headlamp to see the flue interior, not a phone flashlight
- A mirror or inspection camera to see the flue above the reach of your headlamp
Safety Setup
- Close the fireplace damper fully before you go up, so soot doesn’t dump into the living room when the brush pushes downward.
- Seal the fireplace opening completely with plastic and tape, including the hearth edges.
- Set the ladder on firm, level ground, tied off at the top, and never lean it against a gutter.
- Wear fall protection if the pitch is anything steeper than a gentle walkable slope.
- Check the weather – wind can carry soot back into the house and rain makes the roof slick.
- Work from the top down, in even strokes, letting the brush do the cutting.
- Vacuum and clean the firebox last, after all soot has settled.
What to Do With What You Find
When the brush comes back down, look at what’s on it. Loose black flake means Stage 1 and you likely cleared what was there. If the brush comes back with hard, shiny pieces, or if you can still feel slick glaze on the flue wall with a gloved hand, you’ve hit Stage 2 and the brushing didn’t solve it. If you see cracked or missing tiles, gaps at seams, or white powder on the flue wall, stop. Those are signs the liner itself needs professional eyes before another fire gets lit.
When DIY Is Not a Money-Saving Option
DIY stops saving money at a specific point, and it’s more predictable than people think. The scenarios below are ones where the sweep either can’t be done safely or can’t be done thoroughly, and where a partial job costs more than the professional sweep would have.
Second-Story Roofs and Tall Chimneys
A two-story roofline means a taller ladder, a longer reach, and a chimney that’s harder to access cleanly. Most falls in home maintenance happen on ladders, and a chimney on a second-story roof rarely offers a stable working position. If you can’t stand safely at the top of the flue with both hands free to work the brush, you shouldn’t be up there.
Steep Pitches
Arvada has plenty of homes with rooflines steeper than a safe walking angle, especially in neighborhoods built into the foothill-adjacent grades and on the rises around town. A steep roof needs fall protection anchors, and a homeowner setting up anchors for a one-time sweep is not a reasonable trade.
Any Sign of Liner Damage
If you see cracked flue tiles, gaps between liner sections, rusted metal liner seams, or sections of missing liner, stop immediately. Brushing a damaged liner can dislodge material that’s already unstable. This is the scenario where a professional inspection through the chimney sweep takes precedence over the brush, because the flue needs to be evaluated before it’s cleaned and before another fire is lit.
Signs of Stage 2 or Stage 3 Creosote
If the deposit on your brush or your flue wall looks like glass, tar, or sponge, DIY brushing won’t remove it. A brush that skates over Stage 2 glaze leaves the fire risk exactly where it started, and everything you did up there becomes a rehearsal rather than a sweep.
The Stage 2 Glaze Problem and Your Fire Risk
This is the part of the DIY decision that most homeowners underestimate. A chimney fire happens when creosote in the flue reaches its ignition temperature and burns. Stage 1 soot burns quickly and usually hot but short. Stage 2 glaze burns longer, hotter, and can damage the liner while it does. Stage 3 burns with the volume and concentration to compromise the flue itself. The question isn’t whether your fire can ignite creosote – it’s whether the deposit is thick enough to generate dangerous heat if it does.
When a homeowner brushes a Stage 2 flue and the brush passes over the glaze without removing it, the chimney looks clean from the firebox. It may even look clean from below on a phone camera. But the deposit is still there, and the next fire season adds another layer on top of it. That’s how a chimney that felt “just swept” gets to a fire risk nobody detected.
Stage 2 removal requires a chemical treatment to break down the glaze and then a re-brush, which is exactly the sequence a professional uses. This is one of the reasons we stock professional-grade products like Gelco and HeatShield for resurfacing work – the chemistry and tooling for glaze is different from the tools for soot, and there’s no shortcut around it. If you’re not sure which stage you have, assume Stage 2 until someone qualified has looked at it. A chimney repair conversation is far cheaper than a liner replacement after a flue fire.
What a Professional Does in the Same Time a DIY Sweep Takes
The sweep itself is a small part of a professional call. In the same block of time it takes a homeowner to set up, brush, and clean up, a professional completes the sweep and adds an inspection component that brushwork alone can’t cover. That’s the part that makes the difference. On the day of a professional sweep, here’s what actually happens.
- Pre-sweep inspection of the firebox and damper. Checking that the damper opens and closes cleanly and that the firebox has no cracked masonry before anything gets brushed off.
- Protection setup. Sealing and drop cloths so the house stays clean – no homeowner has to tape their own fireplace opening.
- The sweep itself. Sized brush, correct rods, top-down or bottom-up depending on the flue, with a shop vac running the entire time.
- Camera inspection of the flue. A camera run up the interior of the flue shows the liner condition, the presence and location of any Stage 2 or Stage 3 deposits, and any cracked tiles or gaps that a brush can’t see.
- Draft check. Verifying the flue pulls correctly, which matters for smoke spillover as much as for fire safety.
- The report. A written summary of what was found, what was cleaned, and what – if anything – needs repair, with photos so you can see the evidence rather than take it on faith.
That camera step is the difference between “the brush fit and the firebox looks clean” and “the liner is intact and there’s no Stage 2 glaze above the smoke shelf.” One of those is a cleaning. The other is a safety assessment. We built our Arvada chimney cleaning service around the second one because the first one, on its own, misses the things that matter.
The Inspection Gap: Why Brushing Alone Misses the Real Story
Brushwork can only tell you what’s on the surface of the flue. It can’t tell you what condition the liner is in, whether a seam has begun to separate, whether the crown is cracked and letting water in, or whether the deposit type is one that a brush actually removes. Those are inspection questions, and a homeowner without a flue camera can’t answer them.
The gap is widest on older homes. A chimney that’s been in service for decades without a camera inspection may have a clay tile liner with hairline cracks, or a metal liner with rusted seams. Neither shows up in a brushing. Both are real enough to change your fire risk. The same is true for a home you’ve recently bought, where the previous owner’s maintenance habits are unknown and a pre-purchase or post-purchase inspection is the only way to see the actual condition of the flue.
Inspection is also the piece that satisfies an insurance request. If your insurer has asked for documentation of the chimney’s condition, a written report from a professional chimney inspection is what closes the loop. A homeowner’s own once-over doesn’t. That’s why our inspection service is designed to satisfy real estate transactions, insurance requests, and annual safety checks together, not just “look up with a flashlight.”
The gap also cuts the other way. A professional inspection can tell you when nothing needs doing. If the flue is clean, the liner is sound, and the fire has been burning well, you don’t need more work, and the honest answer is that. When the chimney does need repair, we source liner parts through Copperfield and Olympia Chimney specifically because the materials need to be traceable to a known standard. A part from a hardware-store shelf isn’t the same thing, and it shouldn’t be positioned as one.
How Arvada’s Climate and Housing Shape the Decision
Arvada’s fire season is long enough that most homes here see real creosote buildup, not just a dusting. The heating season stretches from early fall into spring, and the temperature swings along the Front Range mean a fire that burns hot one evening and cool the next, depending on what’s on the thermostat. Cool, smoldering burns deposit more creosote than hot, clean fires, so a home that runs the fireplace on slow-burning evenings builds deposits faster than the homeowner expects.
The housing stock matters too. Older homes in and around Olde Town Arvada often have original masonry chimneys that have seen decades of use, sometimes with clay tile liners that were never designed for the way we burn wood now. Newer homes in the western neighborhoods and up toward the foothill grades often have taller flues and steeper rooflines, which push the chimney further out of DIY reach. The result is that the decision isn’t uniform across Arvada. The right call depends on the specific house, the specific flue, and what’s actually in it.
Altitude is a real factor for how these appliances perform. Chimneys in Arvada operate at higher elevation than sea-level guidance assumes, so flue draft and burn characteristics aren’t identical to what a general how-to video walks through. That’s not a reason to avoid DIY if the conditions support it, but it is a reason to have a professional inspect first if you’re unsure.
Our technicians have up to experience working on Arvada chimneys, from older masonry fireplaces to newer wood and gas units. That experience shapes what we’re looking for when we run the camera – the problems that ar
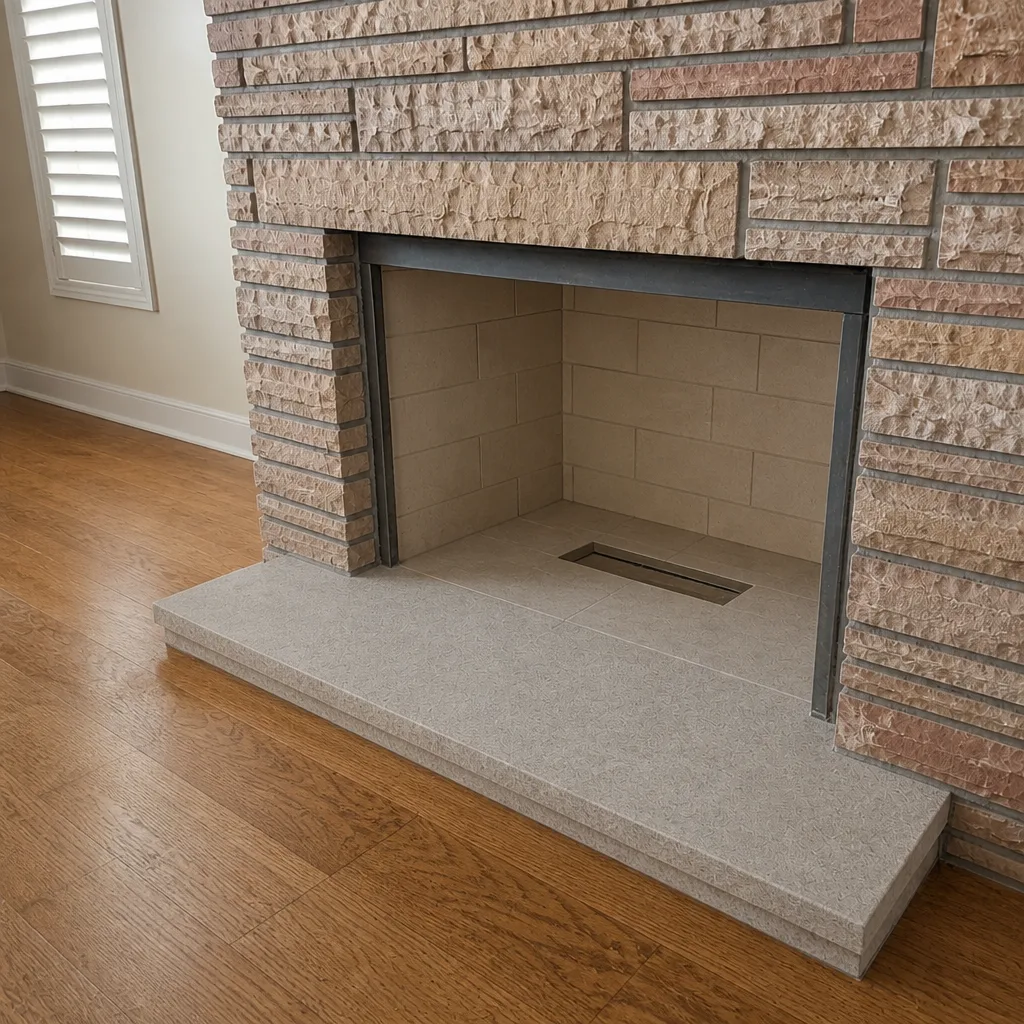
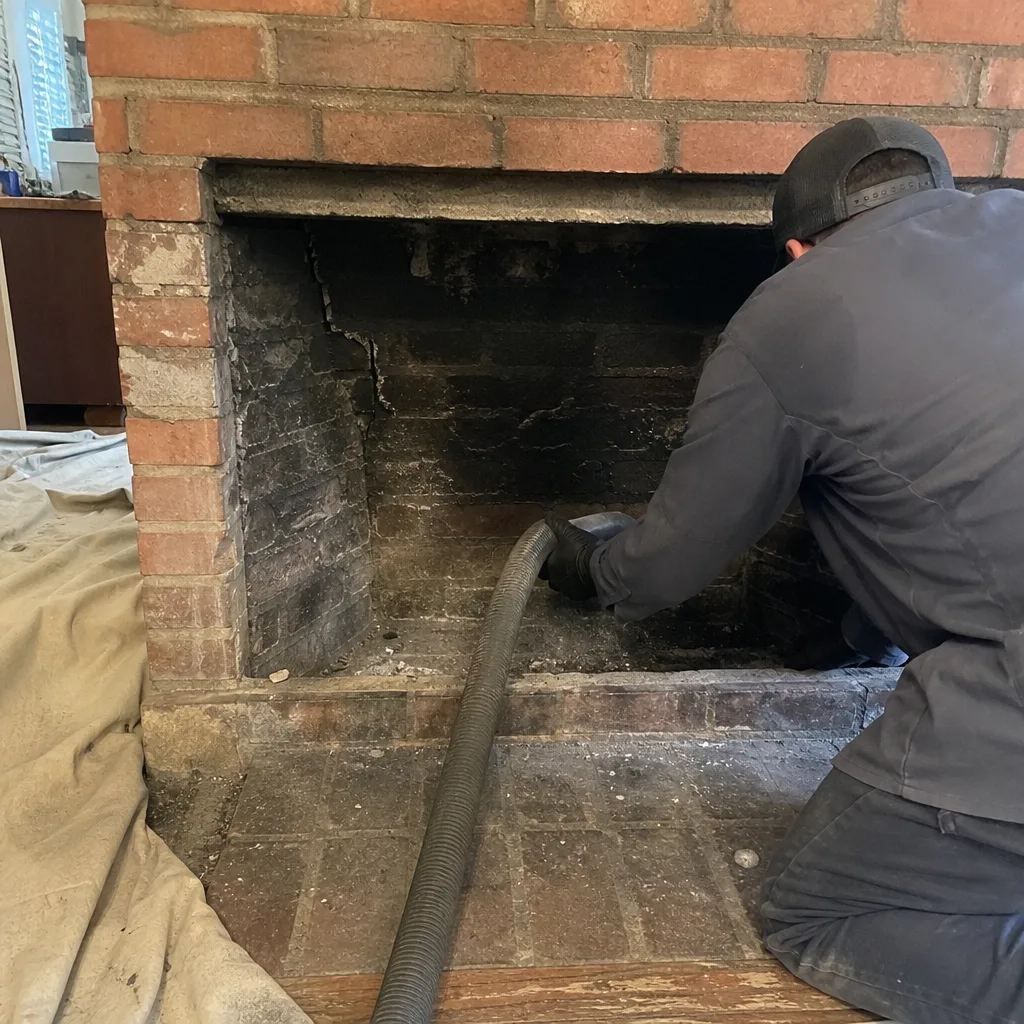
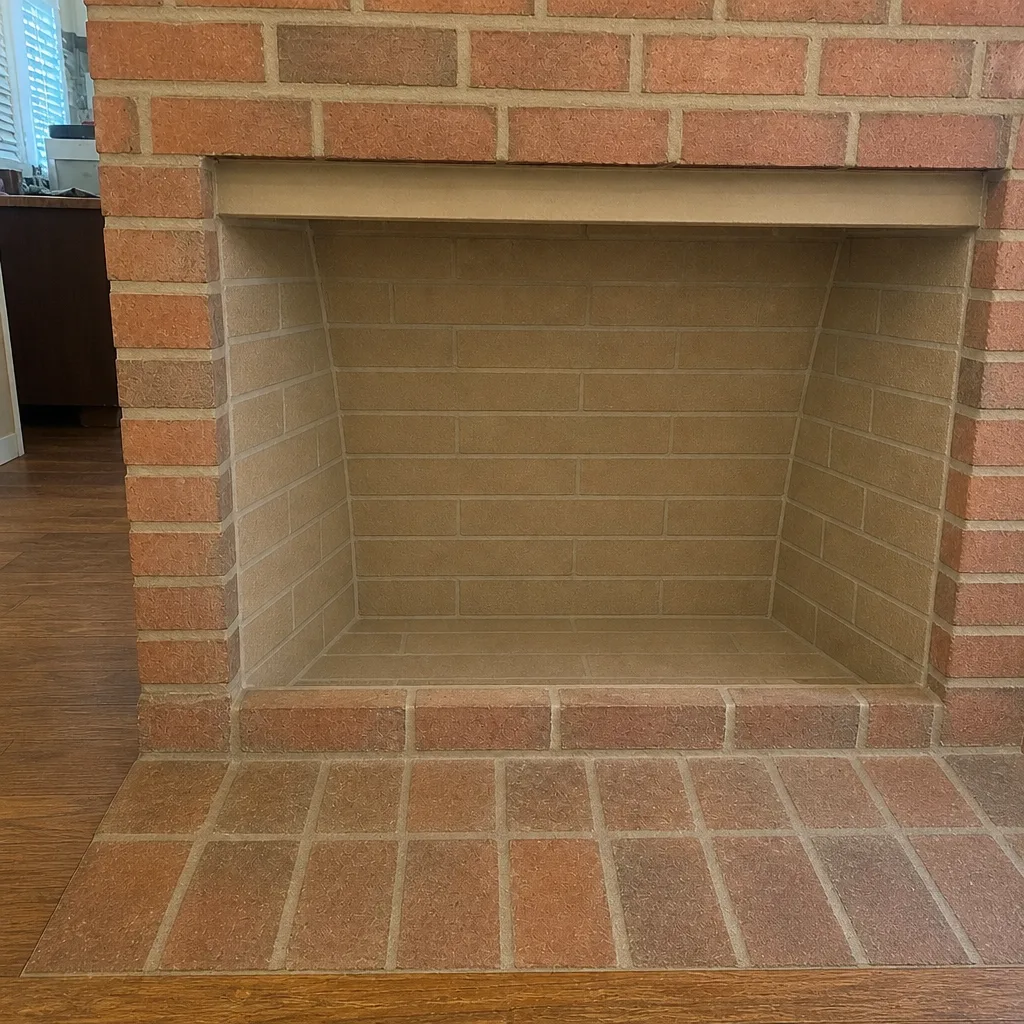
See the difference
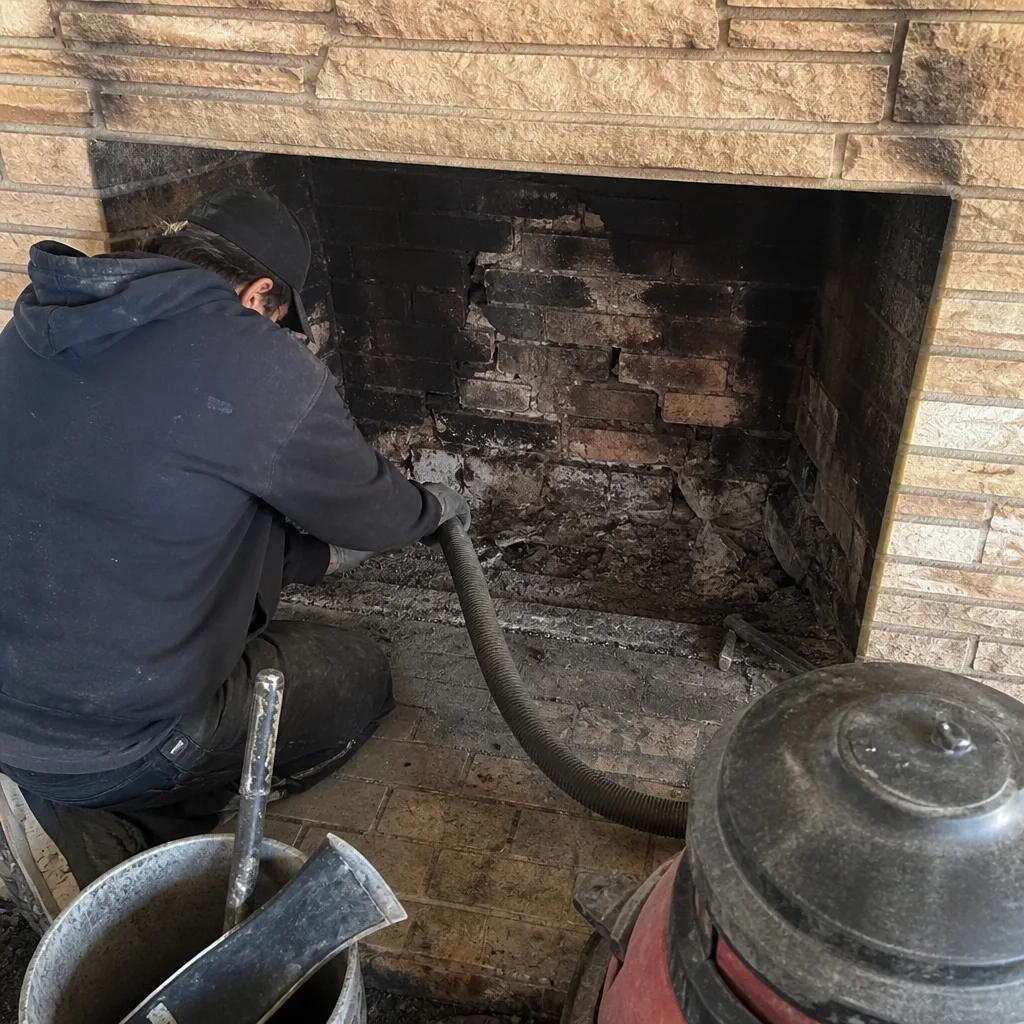 Before
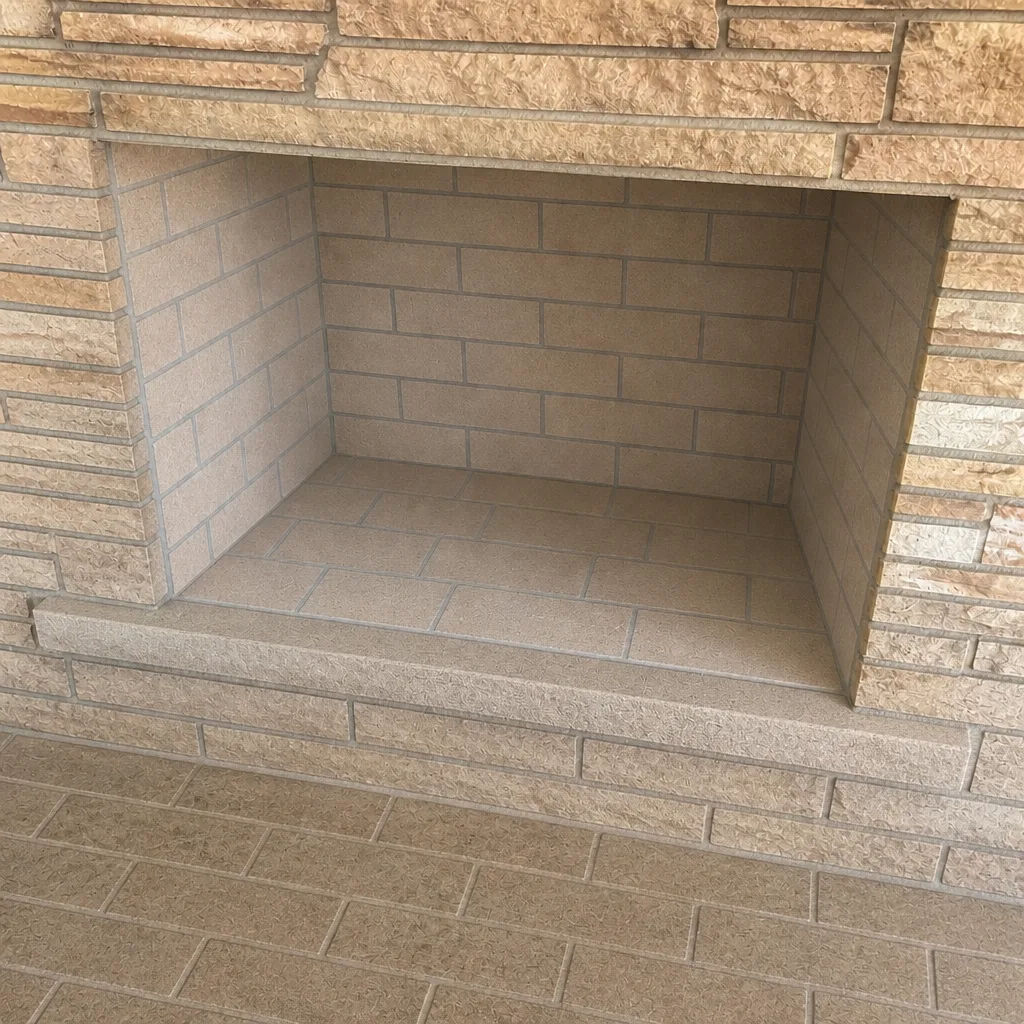 After
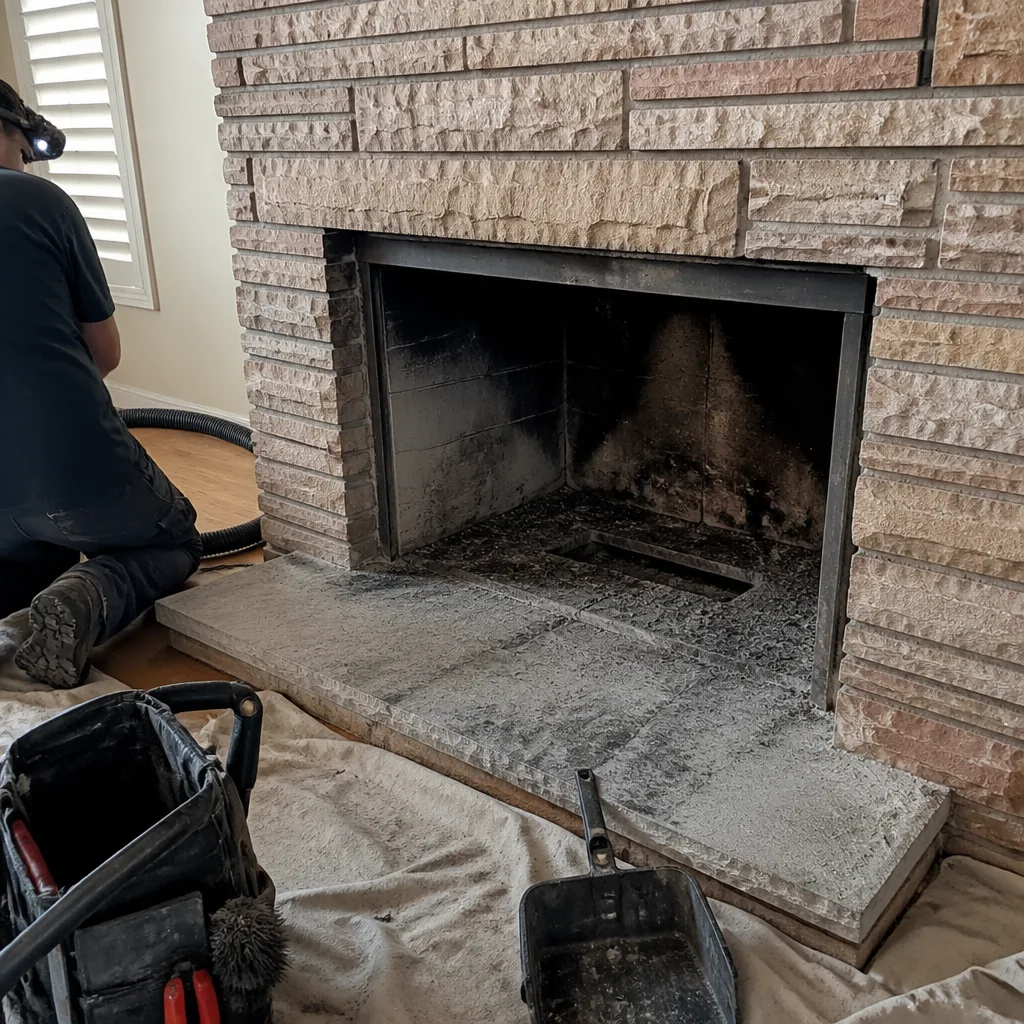 Before
 After
 Before
 After